Page 1 of 1
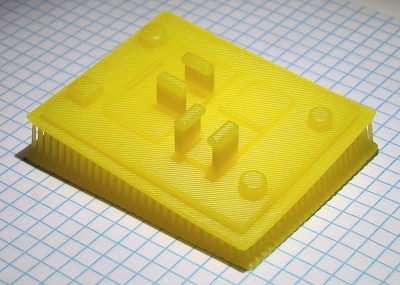
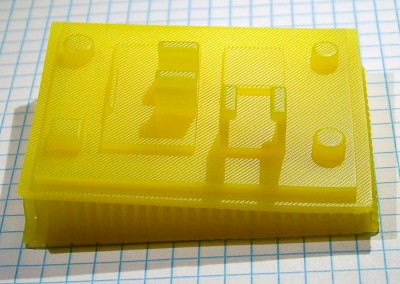
photos of a 3d print made on my updated printer
Posted: Sat Feb 15, 2014 8:35 pm
by HTL
The 3d print is 86mm X 70mm X 19mm without the supports. The layers you see are 0.1mm thick.


technical details can be found at
http://projectsinterestsandetcetera.com/
Re: photos of a 3d print made on my updated printer
Posted: Sat Feb 15, 2014 11:10 pm
by watsonstudios
Clean print! I'd be curious to see the underside once the supports are removed. Usually the underside of prints (the sides facing the build plate) tend to get a little bumpy from the resin not curing at consistent depths. A problem I hope can be solved with better resins in the future.
Thanks for sharing!
Re: photos of a 3d print made on my updated printer
Posted: Sun Feb 16, 2014 6:09 am
by hp_
Hi HTL,
I read your blog with much interest!
very nice blog, and nice print,
the light source in you projector is not UV is it?
Cheers,
hp
Re: photos of a 3d print made on my updated printer
Posted: Sun Feb 16, 2014 11:52 am
by HTL
No, the projector light source is not uv. The projector is a totally unmodified (with the exception of a +4 closeup lens for close focusing) toshiba T95.
Re: photos of a 3d print made on my updated printer
Posted: Sun Feb 16, 2014 8:33 pm
by Finhead
So your curing the resin with the color wheel intact and fully untouched projector (besides the lenses). Thought that wouldn't work properly?
Re: photos of a 3d print made on my updated printer
Posted: Sun Feb 16, 2014 8:43 pm
by 258cj7
I'm also using a projector with the color wheel intact. The only mod was to the focus ring. Cure time for MakerJuice SubG+ is 5.5 seconds.
Mitsubishi XD430U 1024x768 native 230w UHP bulb